How to Create Hover Effects on Images in Squarespace
UPDATE
A user asked how to include a hyperlink for an image with a hover effect applied, so I've updated the post to include that code as well. That means that not only will your image switch to a new image when you hover your mouse over it, but you'll also be able to click on the image to click through to another page of your site or another website entirely. You'll find the new code at the bottom of this post!
Squarespace image blocks have some pretty cool features but besides the option to add a button, they’re mostly static. What if you want a more dynamic image, say one that when you hover over it, the image changes, or text appears?
It’s doable but does require some custom code. Don’t worry, it’s pretty easy and once you get the hang of it, the possibilities are endless.
Curious and want to see an example? Hover over the image below and see for yourself just how engaging images with hover effects can be in Squarespace.
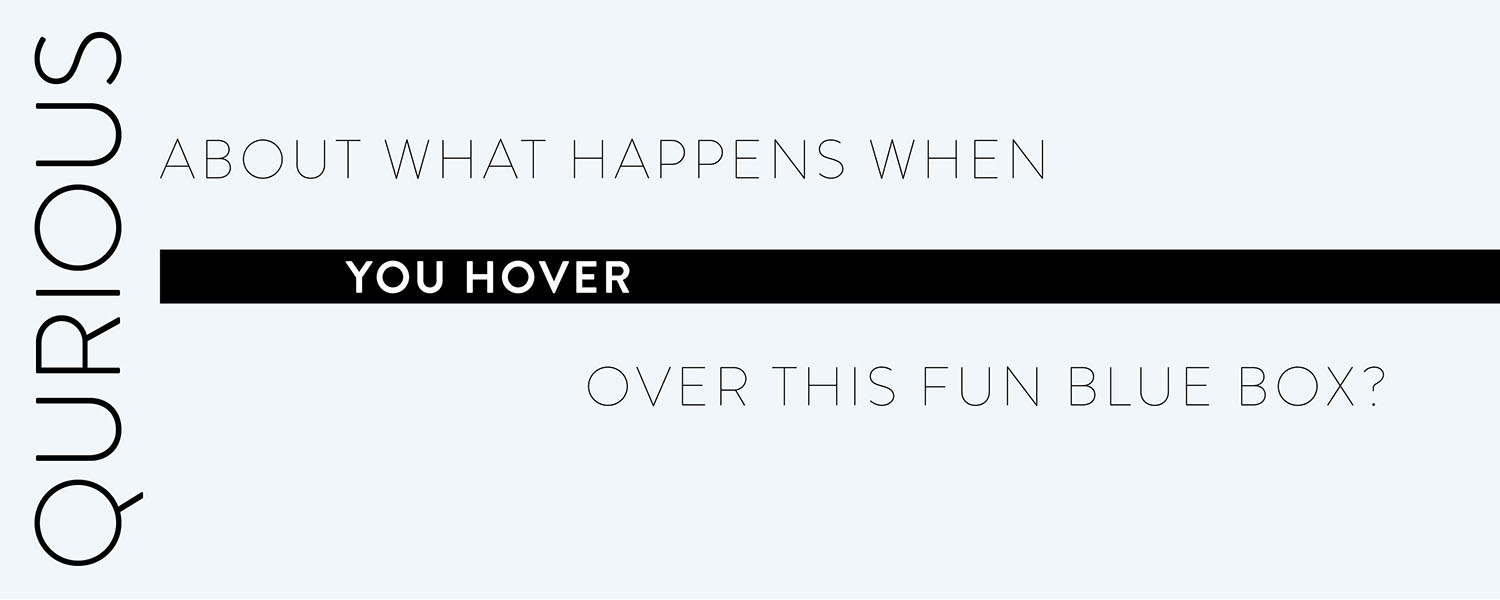
Fun, right?!
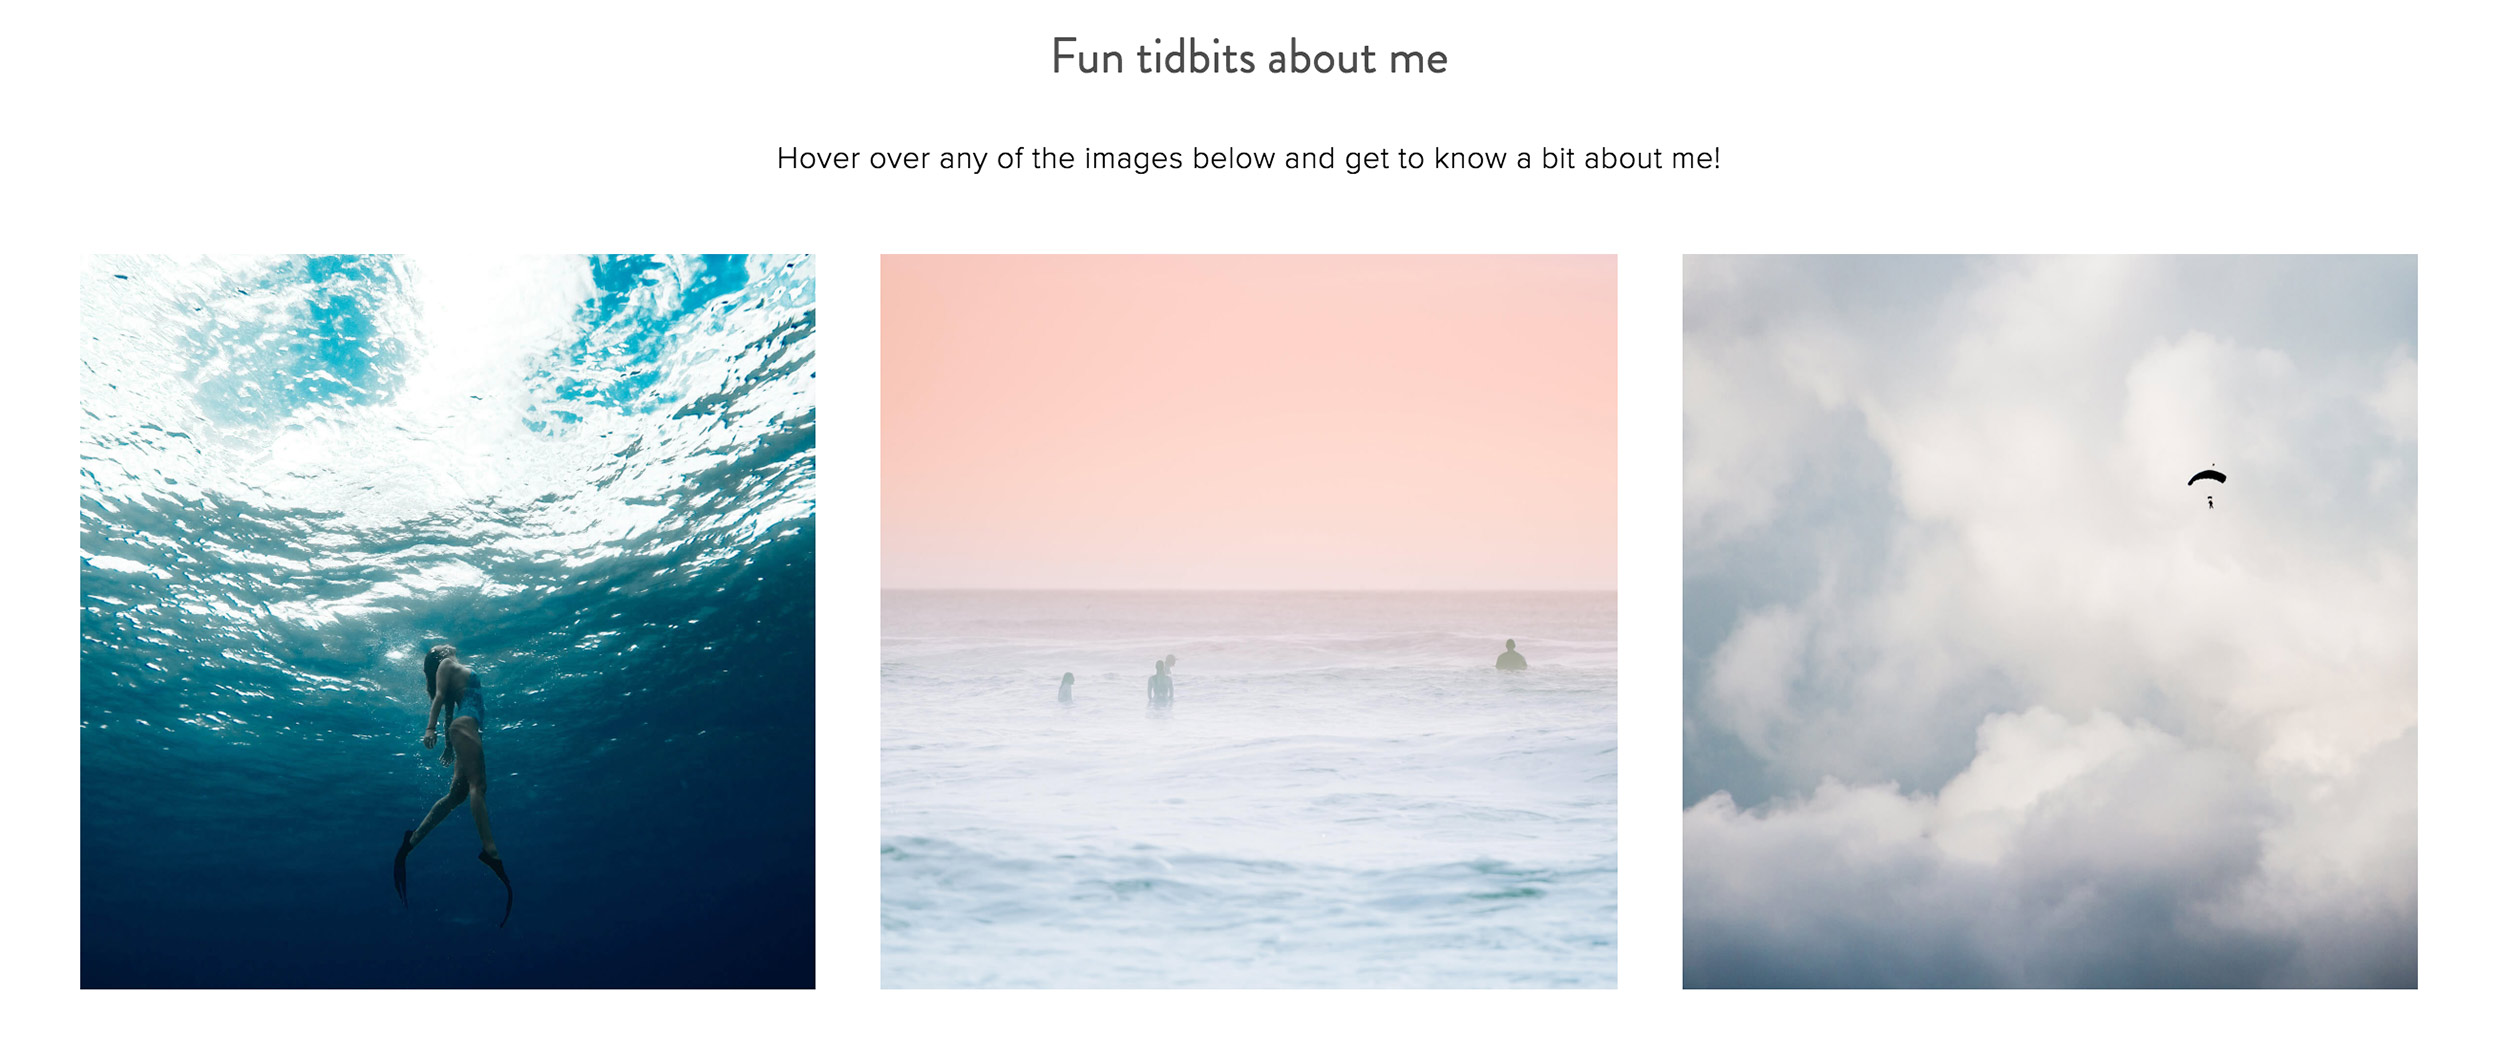
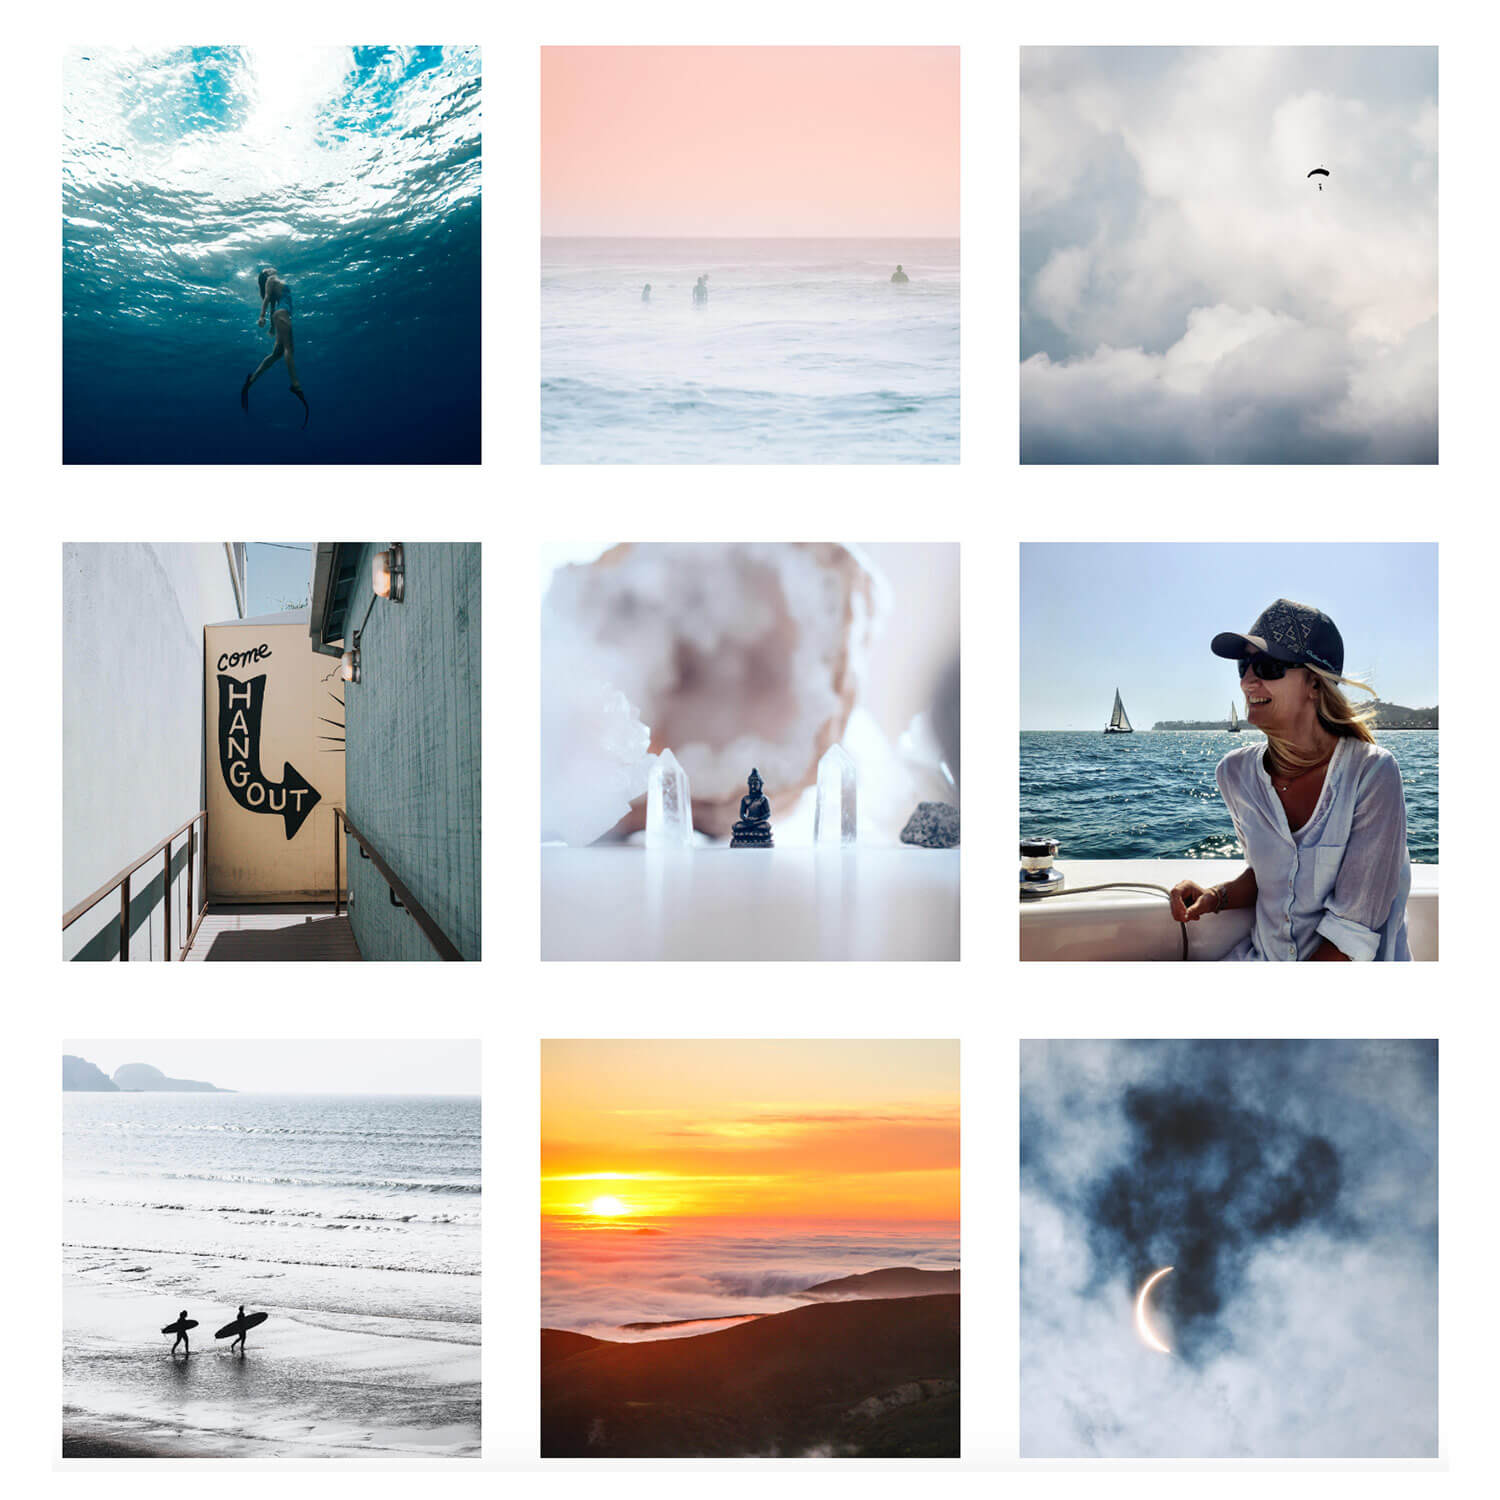
Instead of a boring learn more about me list on my About page, I decided to have a bit more fun by using a grid of photos with hover effects. The photos are beautiful and eye catching and when you hover over each one, a fun tidbit about me (related to the image) appears. When you move your mouse off the image, the original photo returns. You can see it for yourself right here and see example images a bit below in this post.
For this post, I’m going to show you how I created the fun tidbits image grid. You can create something similar or use your imagination to come up with other ways to use the code.
Grids look best when the images visually go together, share the same style, are the same size and fill the entire grid. So I made sure all my images were squares and that I would have the right number of photos to complete even rows within the grid. I chose to use 9 square images in a 3x3 grid.
Once I had selected, styled and standardized the size (cropping to squares at 1500 pixels), I ran the images through tinyjpg.com to optimize/bring their size down. You should run all your site’s images through an image optimizer, so they don’t slow down the load time for your site. Slow websites get clicked away from real quick.
In my example, I use hover to alternate between two images. The first image that appears is a photo that relates to the tidbit I’m sharing. The second image is a photo with the tidbit text. This is what appears when you hover over the image. When you move your mouse off the image, the image with text disappears and is replaced with the original image.

I use 2 images for each of the 9 places in the grid. That means I uploaded 18 images and had 18 unique image web addresses to insert into the code that was used. I uploaded these images into the Manage Custom files feature of Custom CSS. If you aren’t familiar with or need help with how to use Squarespace’s Manage Custom Files feature, read this blog post. It will walk you through how to load the images into your website and generate a unique URL for each one. You’ll need the URL for the code we’re about to create.
I set up my image grid using individual code blocks for each of the 9 places within the grid. The code is the same for each of the blocks so all you have to do is swap out the image URLs for each of the hover states (described below). Here's what my about page grid looks like using hover effects on images in Squarespace.
Since I wanted my original image to return on mouseout, I only needed two images (the original, OnHover and the original again for OnMouseout). If you want a different image for OnMouseout, you can do that, you’ll just need to upload the image(s) you want to use for OnMouseout and cut/paste the address to add to the code.
Now that we’ve talked through the concept, let’s get to the code and step by step instructions.
How to Set Up Images with Hover Effects in Squarespace
Upload your image(s) via the Manage Custom Files menu in Custom CSS (here’s how to use the Manage Custom Files feature).
Once you’ve got all the URLs for the images you’ll be using, it’s time to insert them into the code.
I like to use a text editor to set up all the code and then copy/paste it into the code block. Copy the below code into a new document within your text editor and then copy/paste the URLs for each image that will be used for each state within the block.
Here’s the code that you’ll need:
<img src="YOUR FIRST URL HERE"
onmouseover="this.src='YOUR SECOND URL HERE'"
onmouseout="this.src='YOUR FIRST URL HERE'">
From the example you can see that there are three states. They are:
img which stands for image, use the URL for the image you want to appear first, before hover occurs
Onmouseover which is the state where you’ll want to add the URL for the image that shows while being hovered
Onnouseout which is the image that appears when you move off the image. *This could be your original image or another one, totally up to you. Enter the URL either that you used for img or your additional image.
The “YOUR URL HERE” URLs will be really long and start with https:// and end with .jpg. Also important to note is that within the code, there are double quote marks and single quote marks. Do not delete these marks. If you are having problems with the code, it’s likely that you accidentally deleted one or more of the various quote marks that are used.
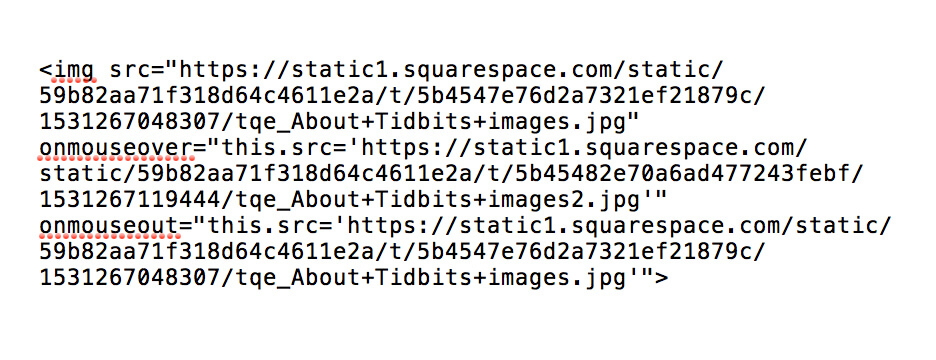
Here's an example of what the code will look like when it's filled in with all the image URLs.
Once you've copied and pasted each unique URL into the code in your text editor, you're ready to add the code to a code block on a page of your Squarespace website. Navigate to the page you'd like to add the block, select Edit on the page and select the insertion point where you'd like to place the block.
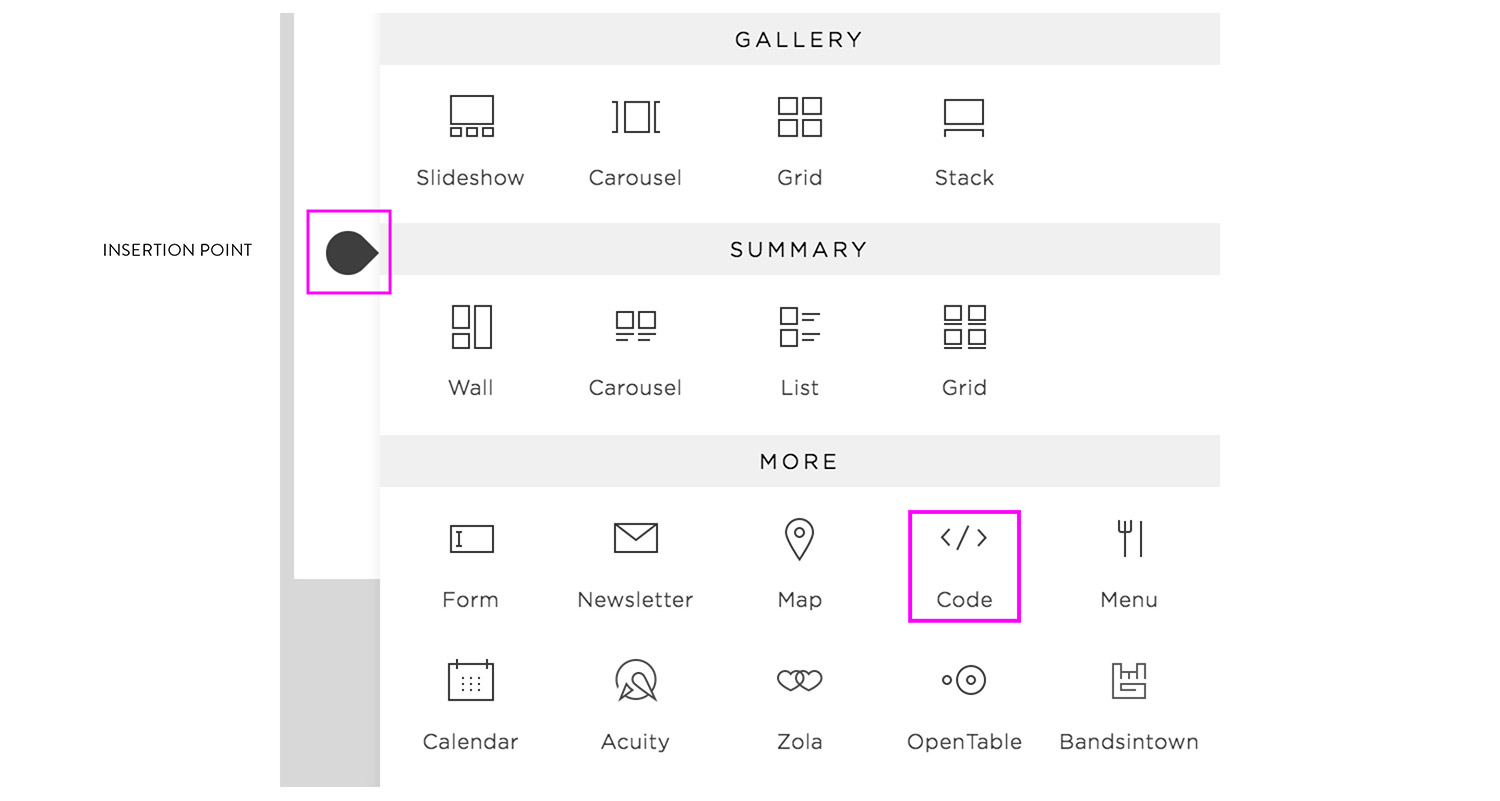
Select the Code Block option under the MORE heading and the code block text editor opens. Paste your code into the block and click Apply. Repeat the process for each image in your grid.

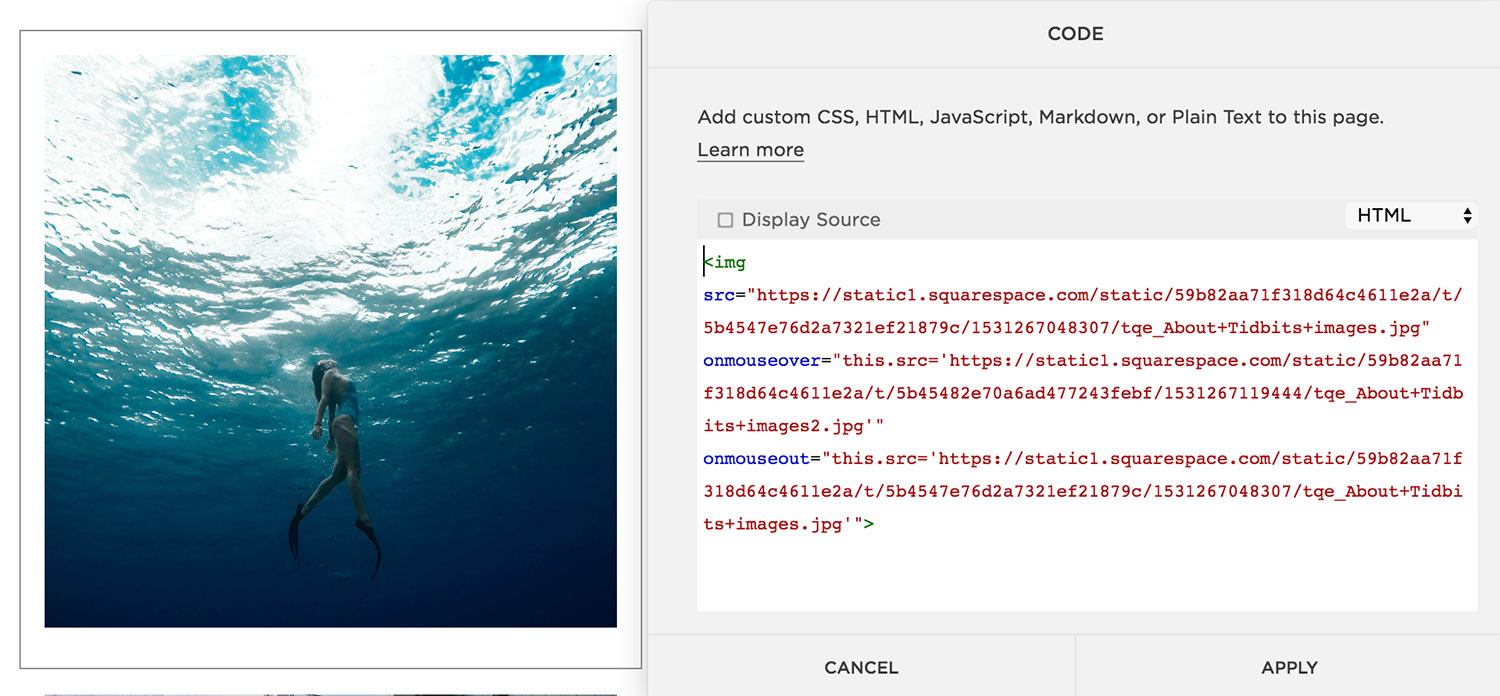
You won't be able to see the hover effect right away. You'll need to click on SAVE (in the upper left hand corner of your page) to save the edits you've made. Once you've saved your work, you'll be able to see the hover effect in action
You can move the blocks around as you'd like them to line up on the page and if you made all your images the same size, they will align perfectly into a grid.
And that's it! You've just made it through creating hover effects on images. That wasn't too hard right! Just multiple steps and some thinking about what you'd like to do beforehand.
UPDATE: how to include a hyperlink when creating hover effects on images
What we're doing here is wrapping the original code from above with hyperlink code. You'll need to get the entire web address for the page/site you'd like to link to (i.e., does your link address use 'https' or 'http' and make sure to include the "://www.") then you can paste it into the place in the code that says "YOUR HYPERLINK ADDRESS HERE". Make sure not to paste over the quotation marks and you should have your image hover set up with a hyperlink!
HERE’S THE NEW CODE TO USE:
<a href="YOUR HYPERLINK ADDRESS HERE">
 <img src="YOUR FIRST URL HERE"
onmouseover="this.src='YOUR SECOND URL HERE'"
onmouseout="this.src='YOUR FIRST URL HERE'"></a>